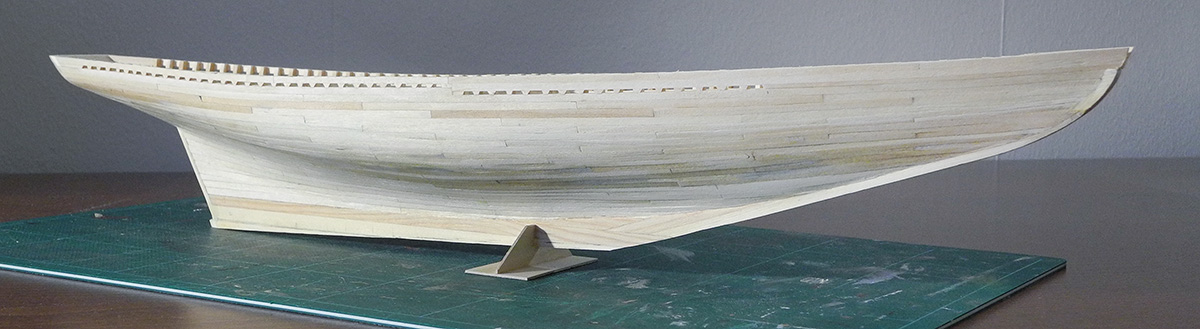
5. Rails and deck planking
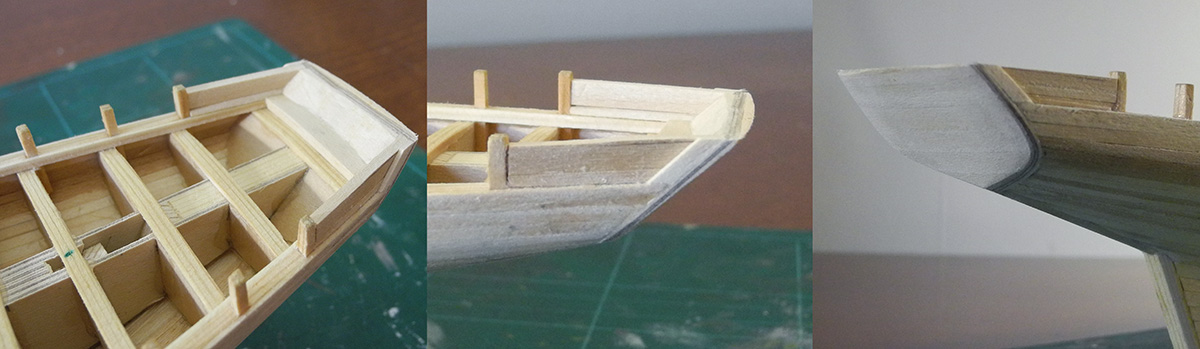
5:1 Sternboard
The sternboard has been added, and I think it looks great. I was right to replace my first attempt at the stern framework. This time I started with a thin piece of plywood forming a very sturdy and flat surface to work on. I added a layer of planks to the outside and to the inside, then sanded each side down to get a slight curvature of the whole sternboard. The inside of the rails look a bit different at the stern and I went on to fix that, which also gives me a nice surface to fix the rail planking to. Perhaps it's worth to mention that you will probably see numerous small details up ahead that I will not go much into detail about in my writings. All these little things comes from careful studying of the reference images that I have, and should very rarly be thought of as my own ideas. If you're curious about something in particular you should be able to find photos yourself on the internet that give you more information.
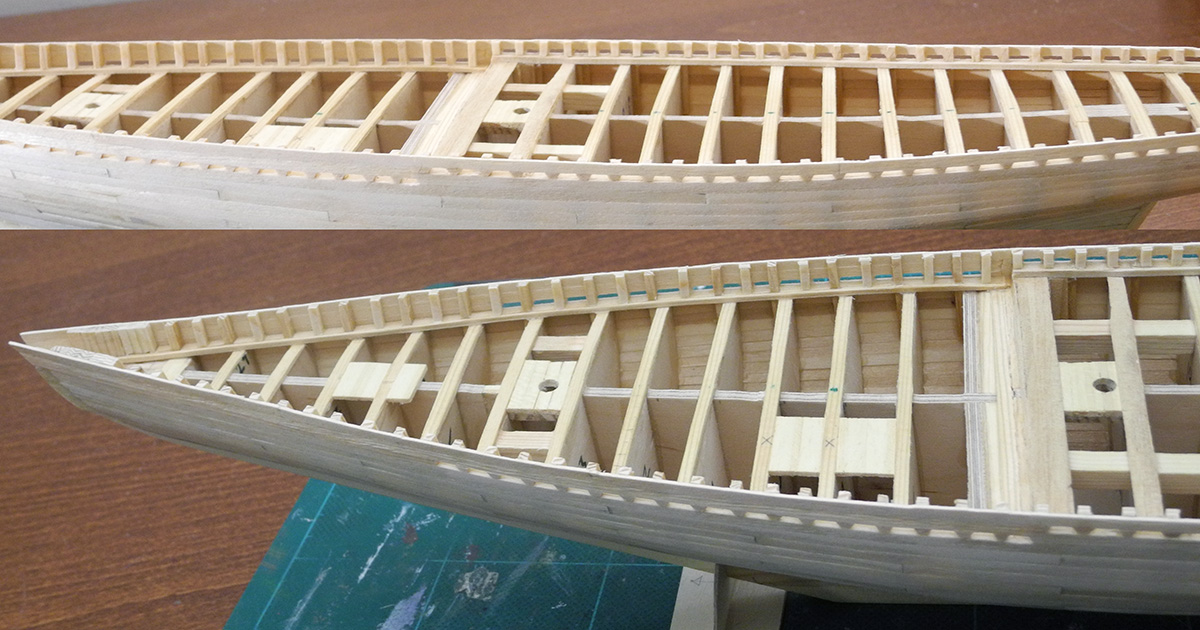
5:2 Rail planking
The rail planking and additional stanchions have been added. Planking was quite straight forward, and most of the stanchions. However, at mid-ship I get annoyed by the fact that the distance ration between the stanchions was off at one point, right in front of the deck step. I was pondering how to fix it for a while then got to work, doing what can best be descibed as dental surgery. To begin with I decided to move the deck step backwards about three millimeters as this would improve the look of the stanchions around this area, and also look more like the reference images. This was quite tricky though. I begun by removing some material with a hobby knife along a straight line, then by using a tiny routing but with my Dremel tool I carefully removed the remaining material. By now the stanchions looked the way I wanted, only they were to many of them being crowded right behind the step. I carefully removed about six or seven of them on each side behind the first stanchion at the step, then carefully adding them back at slightly different and more correctly spaced out distances. In the end there´s actually one more stanchion and scupper on the starboard side then on the port side. This is due to the small tolerances I'm working with, and tiny measuring errors adding up. But I don't think it matters as my main concern is preserving scale and relationship appearances rather than being a hundred percent accurate all the time. In the end I'm super happy with the result.
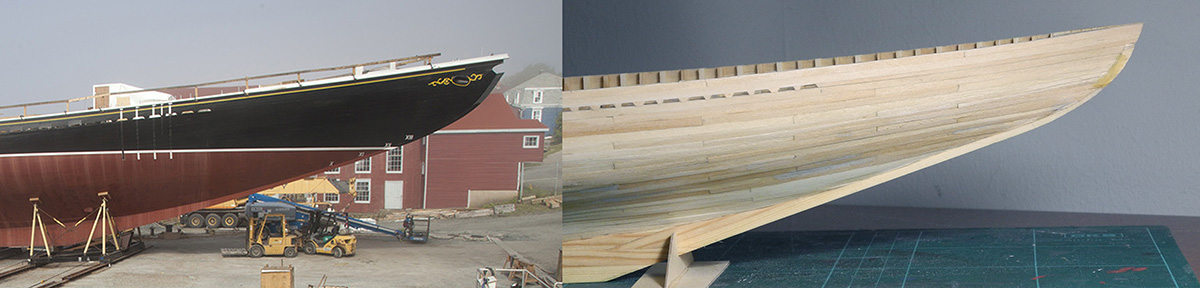
5:3 Prow curvature adjustment
This one have been giving me a serious headanche for a few days. I spotted the problem while completing the hull planking and it has been nagging at me since then. Looking at the curvature of the stem I concluded that the outside curvature of the stem was off. The real ship looked a bit more pointy at the prow compared to my model. I tried to ignore it, but how can I ever approach perfection with that attitude? I thought about ripping some of the bow planking out, adjust the top piece of the stem, then redo the planking. However, during a meditation session the solution hit me. I had enough wood in the planks along the stem to allow me to carve into them slightly, redefining the inside curvature of the stem against the planking. Then I modified the outer curve with my files. Now, having worked myself about half way into the original stem curve I think I hit the point where the difference is barely noticable by eye, and that's where I'm happy! The outside/bottom curvature of the stem on the real ship still seem to have a slight and longer curvature that is not seen on my model, but as mentioned, it's just barely noticable and falls well within the acceptable margin of error.
5:4 Project progression
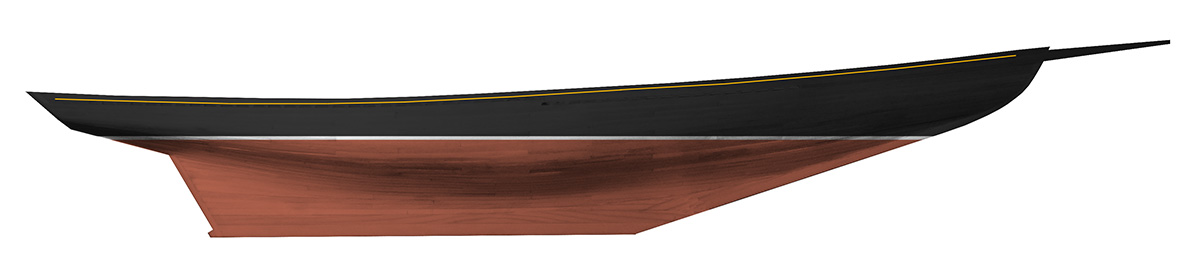
I'm thinking about how to proceed from this point and what things I need to do before others to avoid problems up ahead. I'm getting closer to start adding smaller details and have to make sure all prerequisites for these has been met. To begin with I'll aim to completly finish the hull exterior and rail insides before laying down the deck planking and continue with all the deck details. I also want to make sure I have all the fittings etc properly installed before I add any part of the rigging. I also have to start to make plans for a base mount. I will add mounting points to the keel and make a temporary mount to hold the ship while finishing all the details. My main concern in all of this is that at a certain point I will need to avoid too much handling (holding, twisting and turning) of the model with my hands to avoid damaging details but also to not add fingerprints and dirt to the paintjob once that is added. I made a quick color overlay in Photoshop on a picture of the model to see where the color and shape relationships will end up, and it's looking quite nice.
5:5 Keel adjustment
My artistic eye has yet to fail me! After adjusting the stem curvature at the prow I was still bothered by something and it has taken me a while to figure out why. Up to this point I have assumed that the bottom of the keel was perpendicular to the waterline, which it was not on the original Bluenose, nor the first replica. I realise now that I have had some doubt about this from the beginning as I asked myself why the keel of the recent rebuild doesn't look like the older versions. It turns out that I have been decieved by perspective in the reference images I have used. As I found more images of the ships construction site and some careful study it's now clear to me that the ship is (was) standing in a small slope, which make perfect sense for construction pourposes. I realized it when looking at the concrete foundation at each side of the ship that had a number of steps in it, obviosly to provide the structure surrounding the ship with a level base to stand on. I reshaped the bottom of the keel according to drawings of the older version of Bluenose II and now I couldn't be happier with the overall proportions and appearance. As the stern of the ship gained a tiny bit of weight the whole ship looks much more aero... hydro-dynamical.